A Professional Pipe Preparation Technique in 5 Steps for a Perfect Weld
The strength of a skyscraper depends on the soundness of its foundation. In the world of industrial piping and fabrication, if the weld seam is a skyscraper, its foundation is without doubt the pipe preparation done before welding. Even the most skilled welder cannot build a sound structure on a weak foundation. Even the most expert weld laid on a poorly prepared, misaligned or dirty pipe joint is doomed to end in cracks, leaks and catastrophic failures.
So what are the critical steps you must take before picking up the welding torch — the ones that will determine the fate of your project? The process of preparing pipe for welding, rushed or not fully understood in many workshops and on many sites, is in fact the key to success. It is far more than cutting a pipe and bringing the ends together; it is an engineering discipline that creates the conditions needed for metals to fuse flawlessly at the molecular level.
In this comprehensive guide we look in depth at a 5-step professional pipe preparation technique that leaves no room for guesswork or assumption and lets you obtain repeatable, flawless weld results every time. By following these steps you will improve not only your weld quality but also your efficiency, your workplace safety and the overall profitability of your projects.
Why Is Preparation Before Welding as Important as the Weld Itself?
Welding is the science of joining metals by melting them. That science rests on a delicate balance in which the smallest foreign substance or geometric error can upset the whole equation. The most common and most costly weld defects caused by poor preparation are:
- Porosity: Small gas bubbles trapped inside the weld metal. It is the weld's greatest enemy and generally comes from oil, rust, paint or moisture on the surface evaporating in the welding heat. A porous weld has a weak, sponge-like structure.
- Lack of penetration / fusion: The weld metal not fully penetrating the whole wall thickness of the pipe or the other pipe being joined. That generally comes from a faulty bevel geometry or misalignment and becomes the weakest link in the joint.
- Cracks: Hydrogen-bearing contamination on the surface (oil, moisture) or metal fatigue caused by a faulty cut can lead to cracks as the weld cools.
- Increased cost: A faulty weld means wasting not only material but also the welder's time, the shielding gas and filler wire consumed and, most importantly, the extra effort spent on testing and repair.
In short, every minute spent at the preparation stage saves you hours at the repair stage.
Perfect Pipe Preparation Step by Step: The 5 Golden Rules
Now let us set out in detail the five basic steps that turn this critical process into a professional workflow.
Step 1: Precise measurement and permanent marking
Why does it matter? "Measure twice, cut once" is a basic principle of pipe fabrication. A measurement error of a millimetre can accumulate along a whole pipeline and lead to major misfits and costly scrap. Marking is what carries that precise measurement correctly through to cutting and assembly.
How is it done? Measurements should be taken with great care using a tape measure or laser measuring devices. When marking, ordinary pens that can be wiped off, smudged or lost to cutting fluids must be avoided absolutely.
The right tool: A professional industrial marker is essential at this stage. Liquid paint or solid paint markers from brands such as MARKAL leave clear, permanent, weather-resistant marks even on oily, rusty or wet metal surfaces. That keeps your measurement safe right up to the moment of cutting.
Step 2: A perfect cut (90°, burr-free and cold)
Why does it matter? This is perhaps the most critical physical step.
- A 90° square cut: A skewed cut creates a "V"-shaped root gap when the pipes are brought together. That varying gap requires the welder to change torch angle and filler amount constantly, which leads to inconsistent penetration.
- A burr-free surface: Metal particles (burrs) left inside or outside the pipe after cutting are a time bomb, mixing into the weld pool and causing contamination and porosity.
- A cold cut: Abrasive discs such as a cut-off wheel cut by burning the metal. That creates a "heat-affected zone" (HAZ) that lowers the metal's corrosion resistance and disturbs its structure, especially in stainless steel.
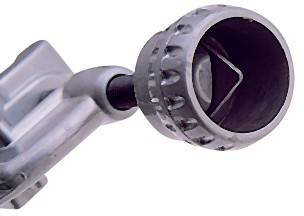
The right tool: The only technology that can achieve all three of these aims at once is orbital pipe cutting. Professional orbital cutters such as GBC pipe cutting machines rotate around the pipe and remove chips. That produces a perfectly square, smooth, burr-free and — most importantly — "cold" cut that gives the metal no thermal shock.
Step 3: Flawless bevelling (chamfering)
Why does it matter? On pipes with a wall thickness over 3 mm, cutting a bevel at a particular angle on the pipe edges is essential for obtaining a full-penetration weld. That operation creates the geometric space needed for the weld filler metal to reach through the whole wall thickness.
How is it done? This operation must never be done with a hand-held cut-off wheel. Chamfering by hand leads to inconsistent angles, rough surfaces and serious safety risks for the operator.
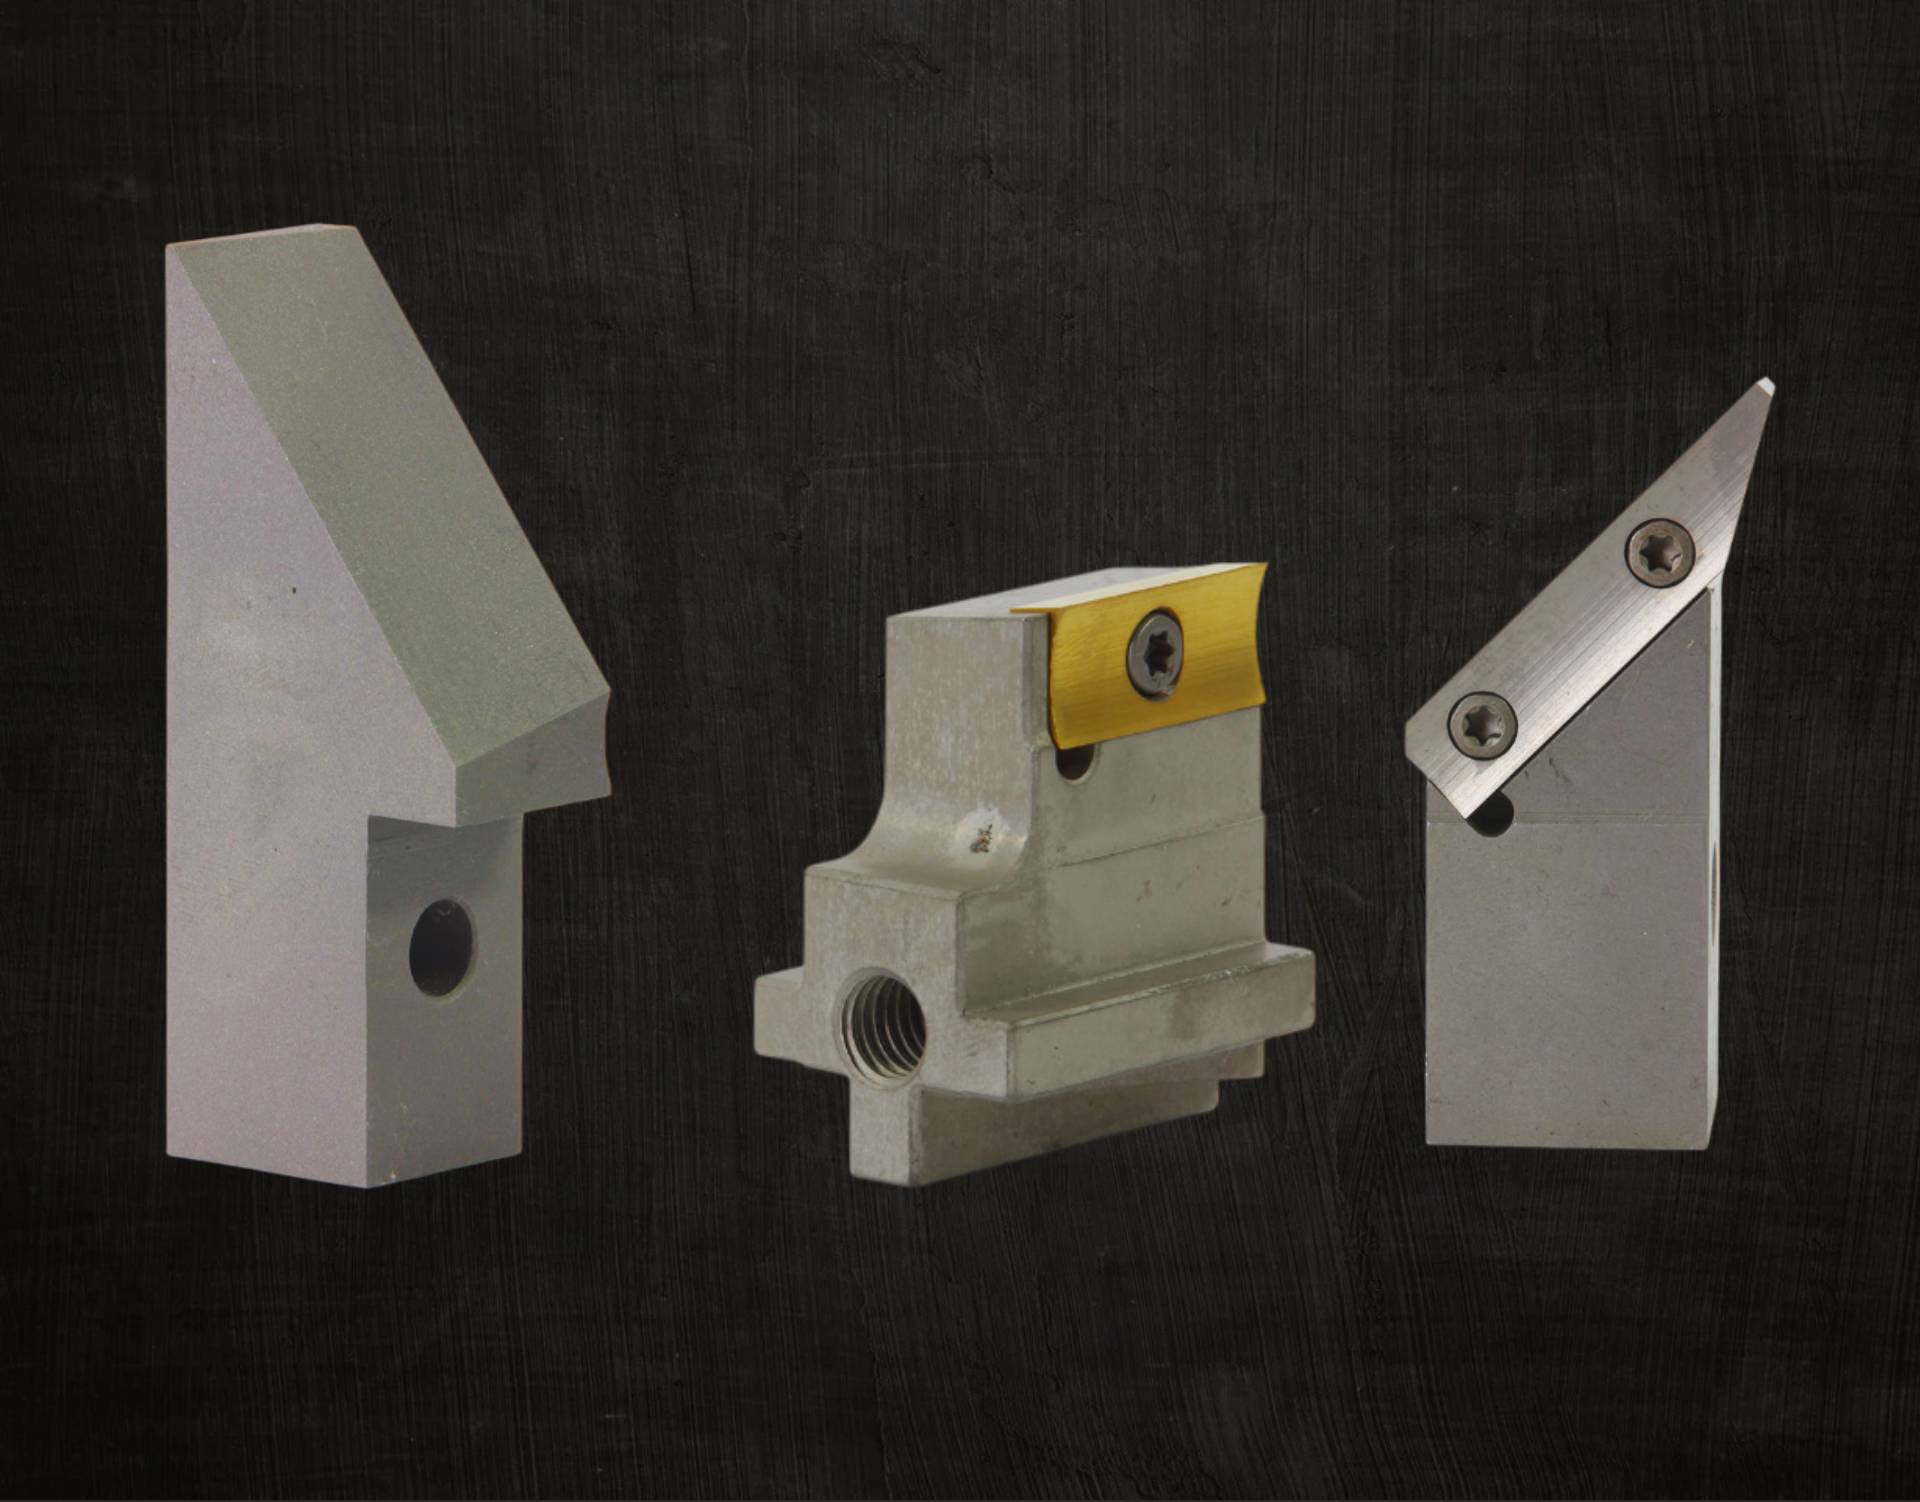
The right tool: A professional pipe chamfering machine carries out this operation within seconds, with mathematical precision and to the same standard every time. GBC bevelling machines offer safe, efficient solutions that can be set for different pipe diameters and material types and can create different bevel geometries such as V or J.
Step 4: Thorough cleaning and degreasing
Why does it matter? This step removes contamination, the number one cause of weld defects. Visible or invisible oil, grease, paint, rust and moisture on the metal surface break down under the high welding heat, mix into the weld metal and weaken it. Hydrogen in particular is steel's greatest enemy and causes cracks.
How is it done? Cleaning has two stages. First, coarse rust and dirt on the surface are removed mechanically with a wire brush or abrasive paper. Then the area to be welded (at least 2–3 cm on the inner and outer surface) is wiped with special solvents and a lint-free cloth until completely free of oil and grease. After that the area to be welded must not be touched with bare hands.
The right tool: Stainless steel wire brushes should be used for stainless steel and carbon steel brushes for carbon steel (to prevent material transfer). Chlorine-free, fast-evaporating industrial solvents should be preferred.
Step 5: Precise alignment and clamping (fit-up)
Why does it matter? The final step of preparation is positioning the two pipe sections perfectly for welding. There are two critical parameters here: the root gap and the axial misalignment (hi-lo). The root gap is the space left between the two pipes and is critically important for full penetration. Axial misalignment refers to the inner and outer surfaces of the pipes being in line.
How is it done? Trying to align pipes by hand or with makeshift supports causes them to move during welding and all the preparation to be wasted.
The right tool: The heroes of this stage are pipe stands and pipe centring clamps. An adjustable, stable and sturdy pipe stand holds the pipe at the required height, while clamps guarantee perfect alignment and the root gap. This equipment is not a luxury but a requirement for producing professional-quality work.
Synthesis: The Professional Workflow and the Equipment Needed
When we combine these five steps, a logical workflow emerges in which every stage is linked to the next:
| Step | Purpose | Critical equipment |
|---|---|---|
| 1. Marking | Transferring the precise measurement to the metal. | MARKAL industrial marker |
| 2. Cutting | A 90° square, burr-free and cold cut. | GBC orbital pipe cutting machine |
| 3. Chamfering | Cutting the bevel for full penetration. | GBC bevelling machine |
| 4. Cleaning | Removing all contamination. | Wire brush, industrial solvent |
| 5. Alignment | A perfect root gap and axial setting. | Pipe stand, centring clamp |
Conclusion: The Secret of a Perfect Weld Is Disciplined Preparation
As you can see, a perfect weld seam is the peak of a process that ends in the hands of a skilled welder. But the road to that peak runs through a disciplined, methodical preparation process equipped, most importantly, with the right tools. Skipping or taking lightly any of the steps ultimately means compromising on quality, on time and on money.
Review your workflow. Where is your weak link? Are your cuts precise enough? Do your bevels meet the standards? Investing in your preparation process is investing in your weld quality and in your business's reputation. Professional pipe preparation is not merely a technique but a philosophy of quality.
Get in touch with our expert team for more information about the professional equipment solutions that will optimise your whole pipe preparation process and give you the highest quality and efficiency at every step. Let us help you lay your foundation soundly.